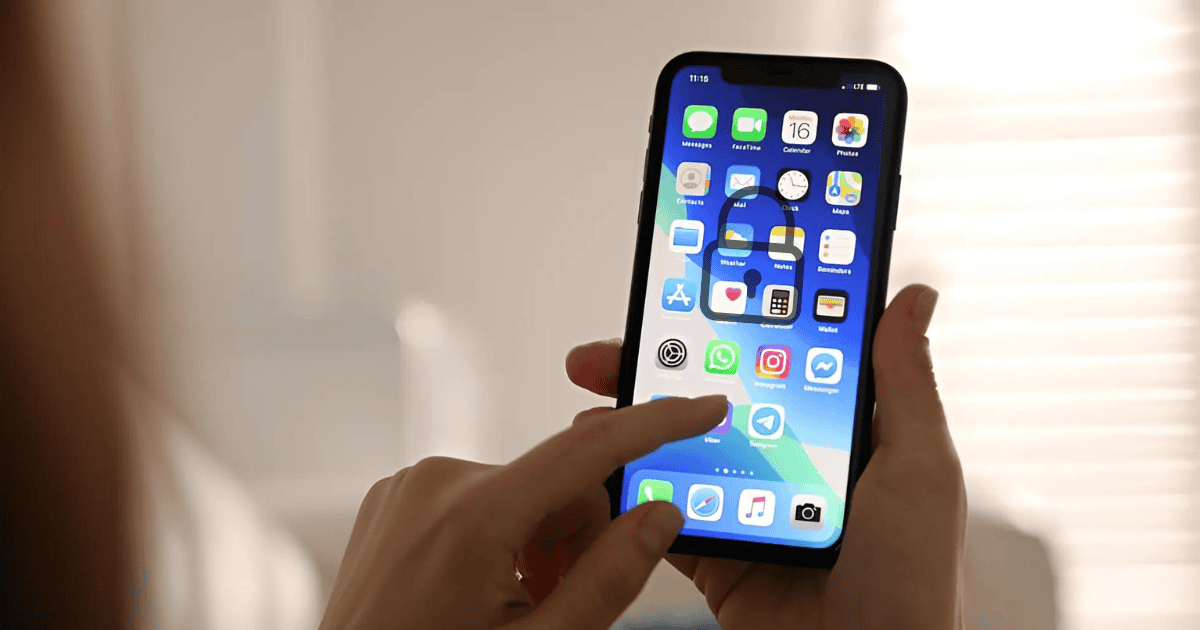
With the increasing emphasis on privacy and security in today’s digital age, iOS 18 introduces powerful new features that allow users to lock and hide their apps. These capabilities ensure that sensitive data remains protected and out of sight, providing users with more control over their personal information. However, understanding the detailed steps involved in locking and hiding apps can make all the difference in effectively safeguarding your privacy. In this article, FirstandGeek explores how iOS 18 enables you to lock and hide apps, offering step-by-step guidance to help you secure your apps with ease.
Locking Apps on iOS 18: Securing Your Apps with Face ID
The app locking feature in iOS 18 provides a streamlined way to secure sensitive applications with biometric authentication. Whether you’re trying to prevent unauthorized access to financial apps or personal messaging platforms, locking apps ensures that only you can open them.
How to Lock Apps:
- Long-press the app icon of the application you want to secure.
- From the menu that appears, select “Require Face ID” (or Touch ID if applicable).
- Authenticate with Face ID or Touch ID to lock the app.
Once locked, these apps can only be accessed through biometric authentication, ensuring that no one else can view their contents. This feature is ideal for securing personal apps that contain sensitive information.
Important Notes:
- Default apps like Camera or Settings cannot be locked.
- The locking feature applies to downloaded apps only, such as social media, banking, and email apps.
Hiding Apps on iOS 18: Conceal Apps for Maximum Privacy
Hiding apps provides an extra layer of privacy by removing them from your Home Screen and search results, making them accessible only through Face ID or Touch ID.
How to Hide Apps:
- Long-press the app icon, then select “Require Face ID”.
- Tap “Hide and Require Face ID” to both hide the app and lock it with Face ID.
- The app will now be moved to a “Hidden” folder in the App Library, requiring authentication to access.
This method is particularly useful for concealing apps you don’t want anyone to know you have. Additionally, hiding apps disables notifications, preventing any alerts from appearing on your device.
Key Points:
- Only downloaded apps can be hidden.
- Notifications for hidden apps are automatically disabled, maintaining discretion.
Unlocking Locked Apps: Accessing Your Secured Applications
Unlocking apps on iOS 18 is as simple as authenticating with Face ID, Touch ID, or a passcode. Here’s how you can access locked apps efficiently:
Steps to Unlock Apps:
- Tap on the locked app on your Home Screen.
- You will be prompted to authenticate via Face ID or Touch ID.
- Once authenticated, the app will open, giving you access to its contents.
If you prefer to permanently unlock an app, you can do so by long-pressing the app icon and selecting “Don’t Require Face ID” followed by authentication.
Note: Some apps may be locked with additional layers of security, such as Stolen Device Protection, which will require Face ID to unlock even if the passcode is known.
Accessing Hidden Apps: Navigating to Concealed Applications
Hidden apps are accessible through the App Library, adding an extra level of security by keeping them out of sight.
How to Access Hidden Apps:
- Swipe right to access the App Library.
- Scroll to the bottom to find the “Hidden” folder.
- Authenticate with Face ID to reveal hidden apps.
Once inside the Hidden folder, you can open apps as needed, though some apps may require additional biometric authentication if they are both hidden and locked.
Unhiding Apps: Making Concealed Apps Visible Again
When you’re ready to unhide an app, iOS 18 makes the process simple. Whether you want to restore an app to your Home Screen or just make it accessible again, here’s how to do it:
How to Unhide Apps:
- Go to the App Library and scroll to the “Hidden” folder.
- Authenticate to view hidden apps.
- Long-press the app icon and select “Don’t Require Face ID” to unhide the app.
To return the app to the Home Screen, long-press its icon in the App Library and choose “Add to Home Screen”.
Tips for Enhanced Privacy on iOS 18
Taking full advantage of iOS 18’s privacy features can elevate your security practices. Here are some tips to enhance your privacy:
- Enable App Locking: Lock sensitive apps like banking, messaging, or health apps using Face ID or Touch ID.
- Regularly Review Hidden Apps: Periodically check your hidden apps to ensure you are maintaining privacy where necessary.
- Use Stolen Device Protection: Add an extra layer of security by enabling this feature, which requires Face ID for unlocking, even if your device passcode is compromised.
Troubleshooting Common Issues
When locking or hiding apps, you may encounter some minor issues. Here are common problems and how to fix them:
- Face ID Not Working: Ensure that Face ID is properly set up by going to Settings > Face ID & Passcode and reconfiguring it if necessary.
- Hidden Folder Missing: Make sure you’ve correctly hidden the app by following the outlined steps. Rebooting your device can often resolve this issue.
If problems persist, updating your iPhone to the latest version of iOS may fix potential bugs.
Final Thoughts
With iOS 18’s enhanced locking and hiding features, users have unprecedented control over their app privacy. By utilizing Face ID, you can protect sensitive apps from unauthorized access while hiding them ensures discretion. Whether you’re securing banking apps or simply maintaining privacy over personal content, these features transform your iPhone into a secure, user-friendly environment. Embrace these tools to safeguard your digital privacy and experience seamless security with iOS 18.


